|
Okay so a while back I promised I would post a DIY and here it is! 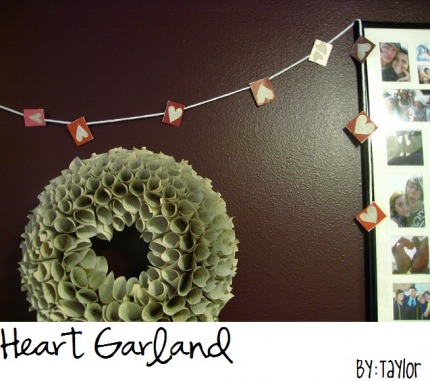 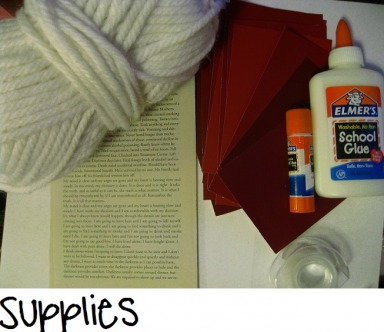 You need;; lots of colorful hardstock paper. Or be thrifty like me and go to any local hardware store [Walmart has them too] and get a handful of the paint sample papers in coordinating colors =] they're free, they're sturdy, they're perfect! Glue, I used glue stick mostly but occasionally needed to use liquid glue if it wouldn't stick-Tape is optional Scissors- [not shown] Yarn-I used a thick Lion Brand And a few pages from an old book or a dollar store romance novel that I had left over pages from my wreath Sewing Matchine Step One: Draw and cut out your heart, or star, or whatever you would like your garland to be on the back of your cardstock or paint samples. I divided the bigger ones into smaller squares so I could make a lot of them. Make sure you make double the amount you want to do-for example, if you want it to be a smaller garland like mine is with 9 hearts, make 18 different little squares =] 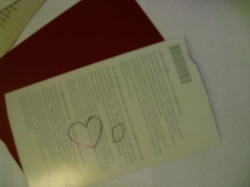 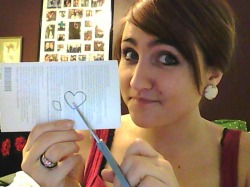 You should now have little squares that look roughly like this-only with your design on them 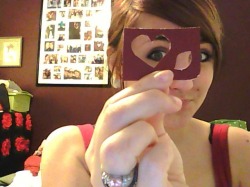 Now take your squares or rectangles =] and cut out the same size shape on the book paper-note; make sure there are words on both the front and the back. I made that mistake a few times! 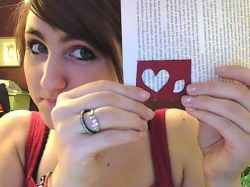 Glue the first square to the paper, don't worry if there is excess paper hanging out, you'll get rid of that later. If the glue stick doesn't hold it down, use a LITTLE liquid glue. Too much just became a huge mess! haha 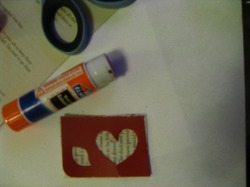 Then take a second square -make sure it's roughly the same size and shape as the one you just glued, and glue that to the back of the first cut out.  Now you have a cute little double sided piece  Now you need to trim the excess colored paper and book page 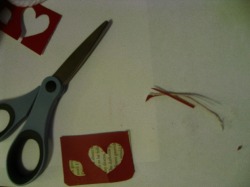 Now cut off a piece of yarn the length you want your garland to be-I made mine for the inside of Ron's teepee so I didn't want it to be tooo big but I still wanted it to be long enough to maybe wrap around a time or two, I ended up making mine about 6 feet long. 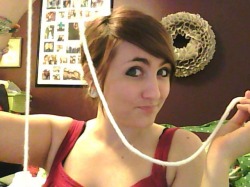 From there, take each of the double sided pieces you made and sew them onto the string with your sewing machine. These is fun because you can do just a simple line down the middle, or make multiple lines, zig-zag lines, I did a few X's; it was fun =] 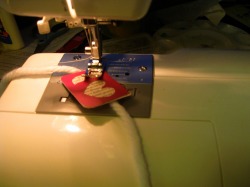 Make sure to space them all differently and have a variety of how they're sewn on. Add your own little flair to it! =] 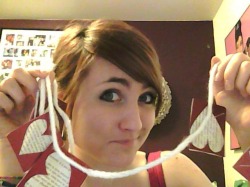 And Ta-Da! You now have a cute new little garland to put wherever you please! Be sure to share pictures with me! Hope you enjoyed my first tutorial! XXXOOO Taylor 
0 Comments
Leave a Reply. |
 This is fact;; not fiction.TaylorA Product of My Parents' Love   My Favorite Blogs      Archives
April 2010
|
 RSS Feed
